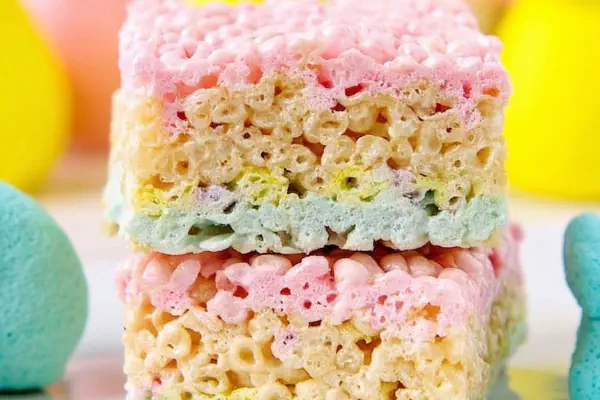
Peeps Layered Krispies
E
By Emma
Certified Culinary Professional
•
Recipe tested & approved
Bright layered Rice Krispies treats colored by Peeps marshmallows. Four distinct colors, buttery marshmallow mix, textures crisp yet chewy, chilled for firm slicing. Great for holiday flair or colorful snack time.
Prep:
25 min
Cook:
5 min
Total:
50 min
Servings:
12 servings
#holiday snack
#marshmallow treats
#layered dessert
#Peeps recipes
#Rice Krispies
Before You Start
Start chopping through sticky marshmallow layers. Peeps bring a surprising foaminess — tacky, sugary, teasing your patience cause it cools fast. You want colorful bands but beware the melting chaos — marshmallow burns easy or sets too quick. I learned after a few attempts: butter temp matters. Too cold? Clumpy mess. Too hot? Runny disaster. Watch the melt stage, gloss and shine, clouds puffing but no scorching spots. Crisp snap from the cereal counterbalances sticky chew. Gotta move fast; ingredients wait for no one. Those lollipop sticks? Lose ‘em quick. And you pick colors to stack neat layers frozen in sugary time. No waiting, no fuss—only chilled slices, echo crunch, candy flashing in pastel slices. Refrigerate to firm up. Otherwise — globs that smear and suck all the joy outta cutting. Experiment. Swap butter for solid coconut oil, adds tropical hint and holds shape better on warm days. Mini marshmallows bulk help bind, Peeps add color and springy bite. Visual cues bigger than timers. Butter glisten, marshmallow stretch, cereal snap - these are your best tools.
Ingredients
- 4 batches of Peeps marshmallows sorted by color (approx 8 each color)
- 2 cups Rice Krispies cereal per batch (total 8 cups)
- 1/2 cup mini marshmallows per batch
- 3 tablespoons unsalted butter per batch (can substitute with coconut oil)
- 1/2 teaspoon vanilla extract per batch
- Nonstick baking spray
In The Same Category · Snacks
Explore all →
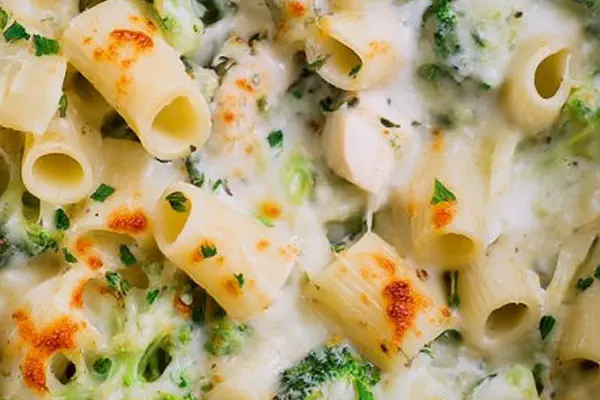
Tangy Pickled Carrots
Samoan Sweet Coconut Rolls

Beer Battered Onion Rings
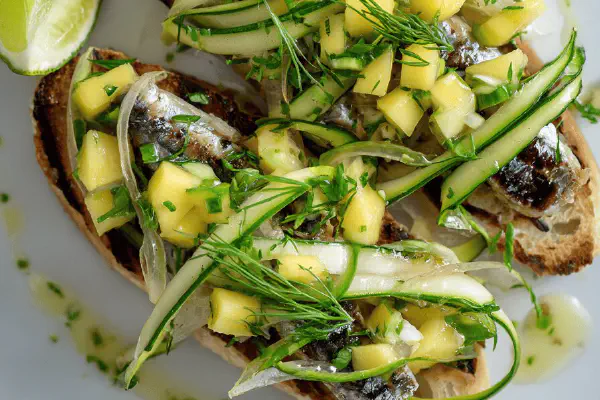
Grilled Sardine Toasts Twist

Reinvented Samosas Without Frying
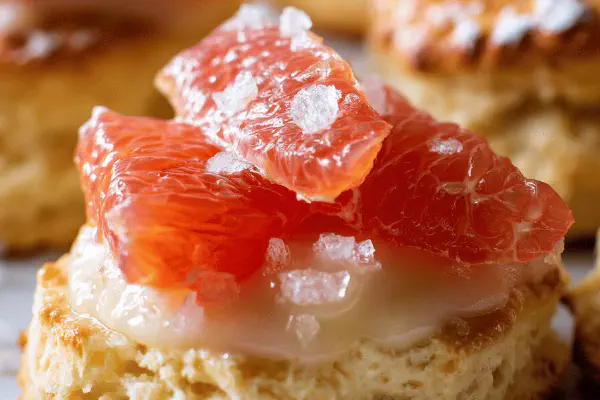
Grapefruit White Chocolate Scones

Homemade Soft Pretzels
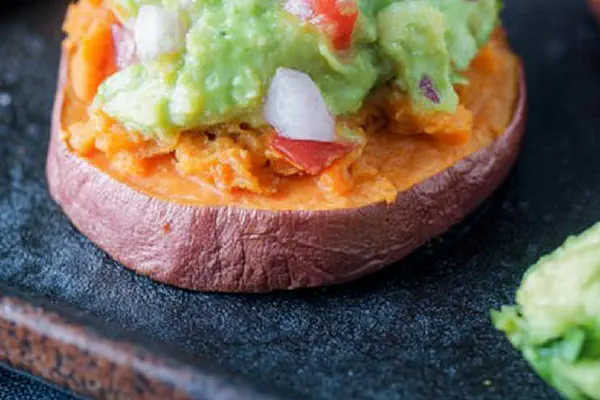
Sweet Potato Sliders Guacamole
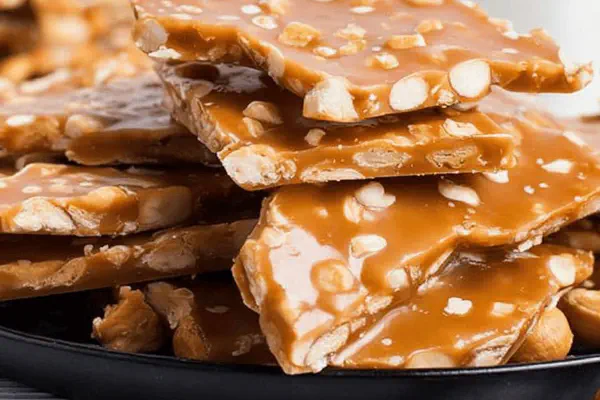
Cashew Crunch Brittle
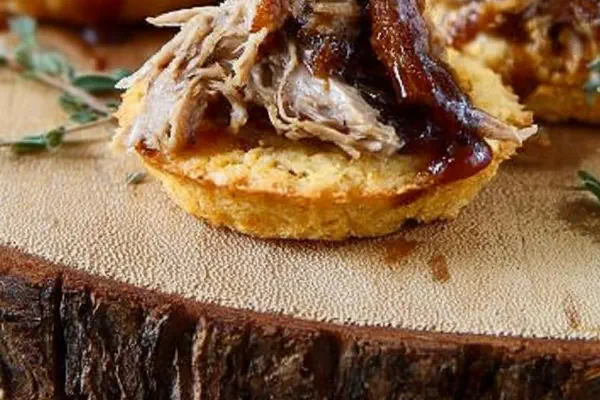
Pulled Pork Cornbread Tarts
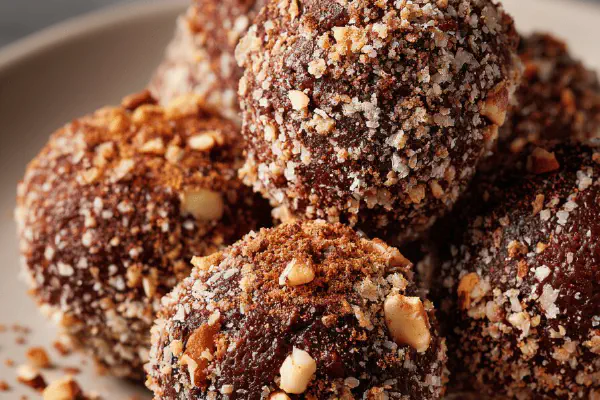
Crunchy Cocoa Bites
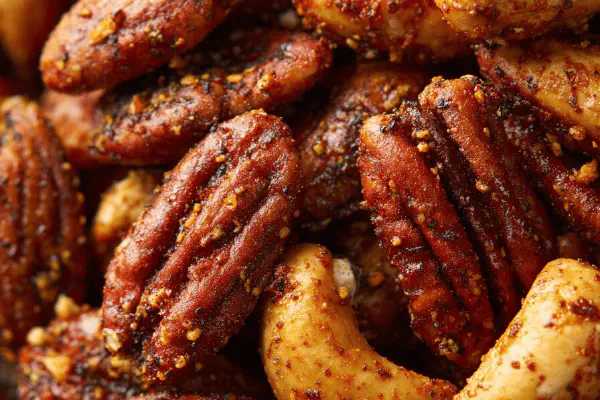
Spiced Mixed Nuts
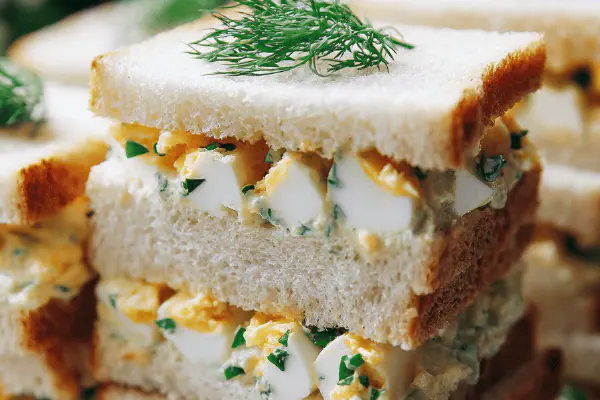
Herb Egg Tea Sandwiches
Spiced Pumpkin Chex Mix
Spiced Caramel Almonds
Baked Maple-Chai Donuts

Spiced Lamb Kebbés

Sweet Potato Snaps

Ricotta Orange Danishes
Blueberry Cream Cheese Danish Twist
About the ingredients
Keep bowls medium size and microwave-safe. You’ll be juggling four batches. Fewer bowls means rinsing quick or color bleed mess. Butter is vital, adds richness, moisture-locks Crispy texture; coconut oil’s a solid substitute if avoiding dairy but flavor leans tropical. Peeps tied to holidays but any colored marshmallow works, just adjust quantity to match stickiness and color intensity. Vanilla softens sweetness and adds balance; skip and treats get one-note sugar bomb. Rice Krispies cereal composition important - if using similar puffed grains, expect firmer or looser final product. Mini marshmallows boost marshmallow mass, reduce sticking; big marshmallows melt less uniformly. Spray hands or dip in butter between patting - stops gooey hands and uneven layer pressing. Store crispy treats chill or they soften and turn sticky fast, especially in humid climates.
Method
- Prepare 9 by 13-inch pan with baking spray. Set aside.
- Separate Peeps from sticks, sort by color in four medium microwave-safe bowls. If only 1-2 bowls, wash between batches to avoid color bleeding.
- In each bowl, add 1/2 cup mini marshmallows, 3 tbsp butter (cut in pieces for even melting), and 8 Peeps of the assigned color.
- Microwave each mixture on high for about 40-55 seconds. Watch carefully; marshmallows puff, butter melts. Remove when glossy, fully melted but not separating. Shiny pooling butter signals ready.
- Stir in 1/2 teaspoon vanilla immediately to keep that smooth sticky texture. The vanilla cuts sweetness just enough.
- Fold in 2 cups Rice Krispies, coating thoroughly but gently to avoid crushing cereal. Work quickly - mixture firms fast when cooled.
- Press the green marshmallow-cereal in an even layer into prepared pan, hands sprayed or lightly buttered avoid stickiness. Press firm but not too hard — want compact but airy bite.
- Clean bowl, repeat for yellow Peeps then blue, then pink. Each layer immediately pressed, no waiting or layers may not bind well.
- After final layer pressed tight, cover dish with clean towel or plastic wrap to keep moisture balanced.
- Chill in fridge for about 30 minutes or until fully set and firm to touch. Not chilled? Too soft to cut clean and holds greasy fingers.
- Slice with sharp knife, wiping blade after every few cuts to avoid ragged edges.
Cooking tips
Be ready and organized. Marshmallow melting needs high heat short bursts. Watch closely, bubble patterns tell you when ready: surface glossy with tiny bubbles forming but no scorching. Stir immediately to mix and bind. Folding cereal requires care - crush cereal and texture suffers; don’t overmix or fluff. Maximum coating, minimum crushing. Layering fast essential to keep binding; too much wait and it cools, layers don’t adhere causing crumble later. Press layers firmly but not squished — airy lightness with compact hold. Use flat hands, engage through gloves or lightly buttered skin - no bare hands or it sticks unnervingly. Cover pan if not slicing soon for moisture control. Cooling sets the structure, 30 minutes in fridge minimum. Skimp and slices melt, too long? Stiff like bricks. Cutting crisp edges demands sharp dry knives, wipe blade to avoid dragging goo. Mastery lies in tactile sense, not just timers or colors. Make chaotic marshmallow mix your new playground.
Chef's notes
- 💡 Butter temperature matters big time — too cold chunks, too hot runny mess. Watch glossy sheen on marshmallows, bubbles puff but no scorch. Microwave bursts, short intervals help control melt. Use small pieces butter better than one chunk melts uneven. Timing’s key; wait for shiny mix, then stir vanilla quick to cut sweetness taste balance.
- 💡 Layer fast or layers don’t stick, chill after done. Press firmly but not smashing air out, want compact but springy bite. Grease hands or spray, sticky goo mess otherwise. If only two bowls, wash quickly between colors or you get bleeding. Four bowls best for neat colors, no wait no bleed. Bowl ready, materials set before heating, prep saves panic.
- 💡 Fold cereal into marshmallow gently, don’t crush flakes or texture goes flat. Work quickly - mix firms fast when cool. Sticky marshmallow texture changes fast. Crisp snap in bite from cereal balance tacky chew marshmallow. Pressing layer needs steady even pressure, no gaps or crumbs. Keep pan size consistent or edges fray slicing later.
- 💡 Butter substitute? Coconut oil solid at room temp adds slight tropical hint, keeps shape better on warm days, less dairy heavy but melts differently. Mini marshmallows bulk up marshmallow mass, prevent lumpiness in texture. Vanilla slows sugar spike bitterness, gives softness; skipping makes sweetness harsh and cloying.
- 💡 Cooling time essential — minimum 30 minutes fridge. Not cold enough means soft goo slices, greasy fingers. Too long? Brick hard, tough to cut cleanly. Knife sharp, dry, wipe blade often or marshmallow drags, messy edges. Visual cues tell melt progress; glossy, shiny mix with tiny bubbles signal ready stage for stirring and mixing cereal.
Common questions
How to avoid colors bleeding?
Separate colors fully, use separate bowls. If fewer bowls, rinse and dry fast between batches. Don’t mix colors raw. Dry bowls prevent moisture mix, stops bleed. Also work fast, layers pressed immediately to lock color.
Can I swap ingredients?
Butter can swap coconut oil, solid at room temp better for warm climates but flavor shifts. Vanilla optional but highly recommended for balance. Use other puffed cereals but texture changes, melt firmness varies. Mini marshmallows needed to bind layers better, skip at risk crumbly edges.
What if layers don’t stick together?
Most common cause - letting mix cool too long before pressing layers. Marshmallow firms fast when cooled, press immediately. Also too little butter affects stickiness. Pressing too soft or too hard affects bite structure. Keep heat short. If messy, next time spray hands more or butter skin.
Best way to store leftovers?
Wrap tightly to keep moisture balance, plastic wrap or airtight container. Refrigerate to keep firm. Room temp softens quickly, humid climates worse. Can freeze but texture changes, thaw chilled before slicing. Avoid stacking slices stacked, compresses layers. Keep dry, prevents sogginess.
You’ll Love These Too
Explore all →
Peach Fluff Remix
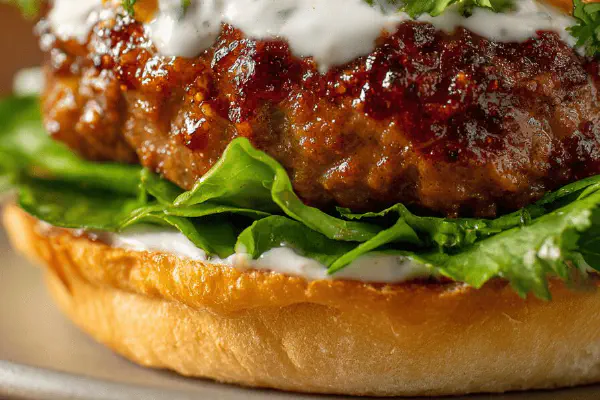
Indian Spiced Beef Burgers

Banana Cake Twist

Broccoli Carrot Puree
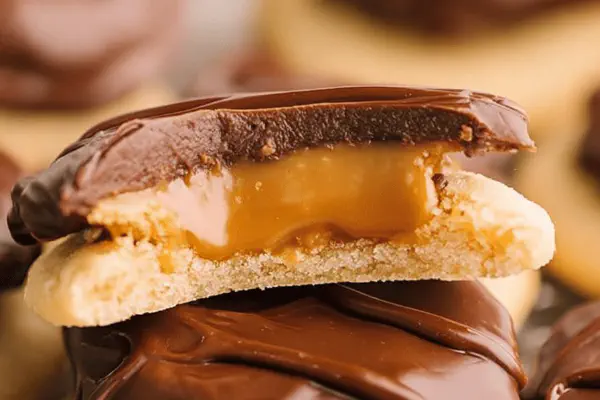
Twix Style Cookies
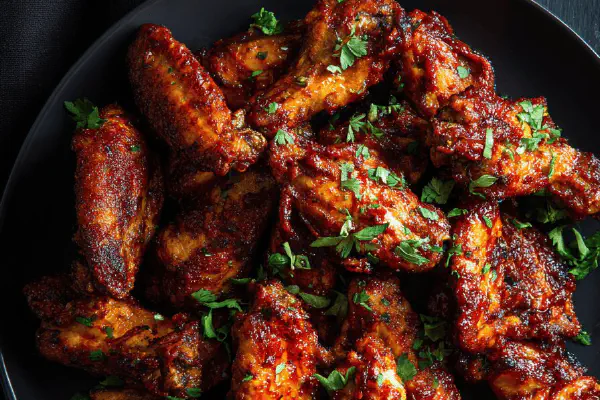
Smoky BBQ Chicken Wings

Twisted Chocolate Croissants

Chorizo Baked Oysters

Duck Confit Spring Rolls
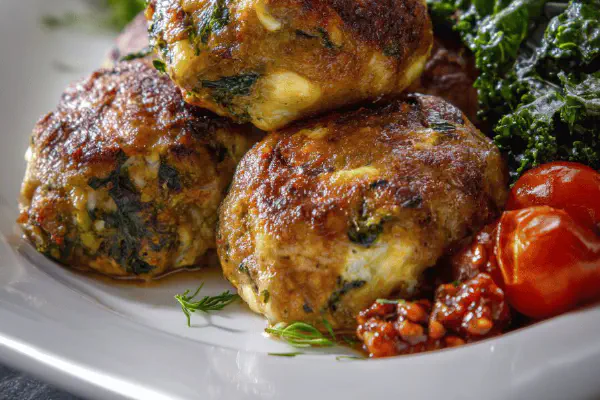
Giant Meat and Broccoli Balls
Lemon Granita Affogato
Spicy Tuna Salad Remix

Spiced Miso Ginger Chicken

Zucchini Potato Velouté
Melted Cheese with Mushroom Sauté
Citrus Lime Rice
Roman Chicory Salad

Chicken Naan Sandwiches

Cookie Monster Cupcakes

Gluten-Free Tuna Fritters