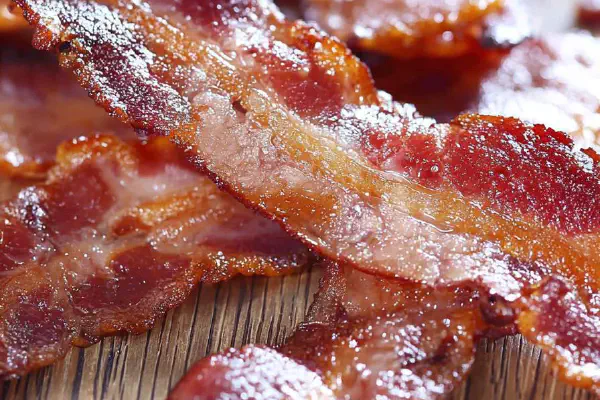
Oven Bacon Crunch
E
By Emma
Certified Culinary Professional
•
Recipe tested & approved
Crispy bacon from the oven with simple tricks to drain fat and get just-right doneness. Adjust for thick or thin cuts. Flavor ideas and tweaks included. Practical, hands-on approach for better bacon every time.
Prep:
6 min
Cook:
20 min
Total:
26 min
Servings:
12 servings
#bacon
#oven cooking
#crisping
#kitchen tips
#meat preparation
Before You Start
Bacon crisps best in the oven. Hands off, even cooking, no burnt edges unless you want them. Tried skipping the rack — messier but doable. Learned thick slices need more time, thin slices quicker or they lose snap. Look for bubbling fat pools at edges and amber color, that’s your cue. The hiss from the pan starts soft, then sharpens, shows fat melting away. You want the smell to hit nutty, barely burnt, no burnt sugar smell—maple glaze can misfire if left too long. Drain well or bacon grease drowns the crunch. I toss seasoning on before cooking — cracked pepper or paprika. Salt already in meat, don’t overdo dry spices or they char early. No rack? Flip halfway, lay slices flat, blot a lot. Fat pooling can make bacon limp. Oven heat matters; hotter crisps edges faster but watch it. Cool crisp bacon by itself on towels, not piled up. Store leftover strips flat or reheated in hot pan for crunch revival. Keep rendered fat for serious flavor bomber on fried eggs or roasted potatoes. Bacon mess is well worth the payoff.
Ingredients
- 12 slices bacon (thick or thin cut, substitute turkey bacon if needed)
- aluminum foil to line pan
- optional flavorings: black pepper, maple syrup for glaze, smoked paprika
In The Same Category · Breakfast
Explore all →
Carrot Cake Muffins Twist
Oat Jam Muffin Crispies
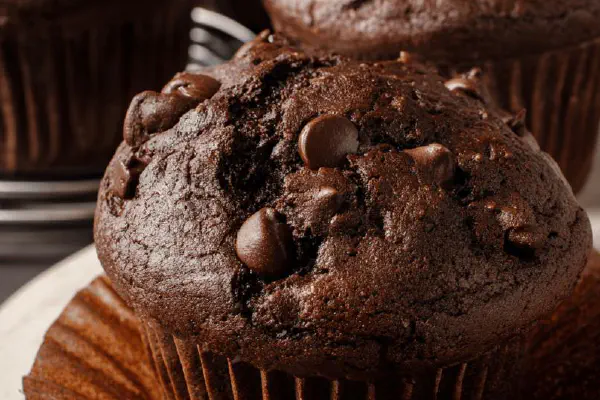
Costco Double Chocolate Muffins Remix
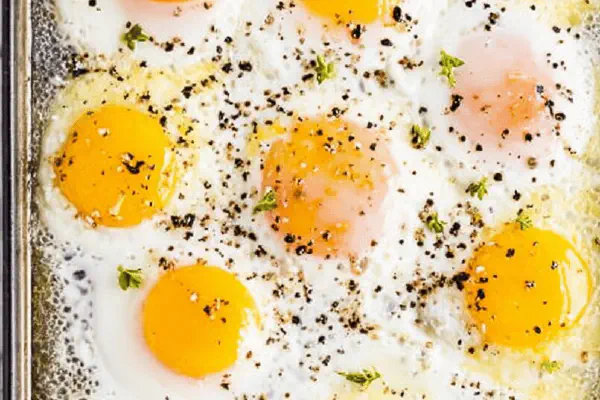
Oven-Baked Sheet Eggs
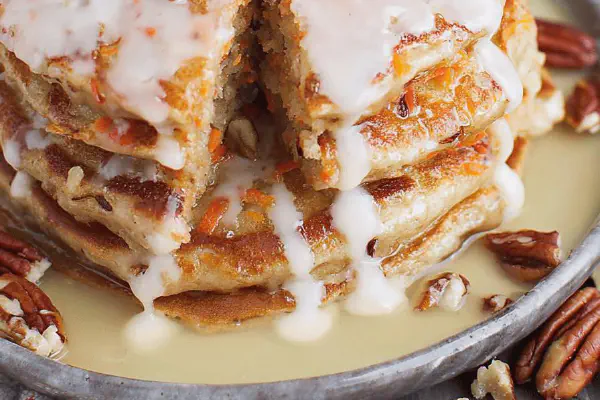
Carrot Cake Pancakes Remix
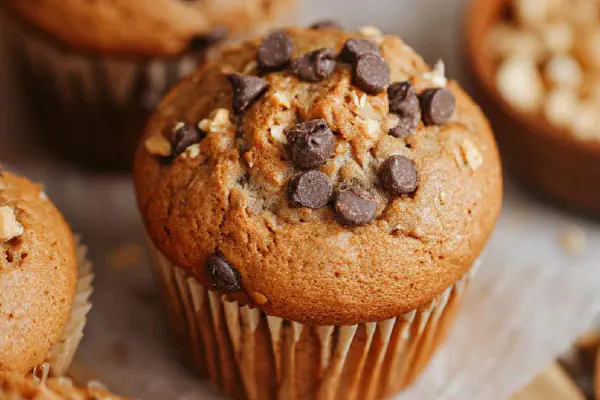
Peanut Butter Chocolate Chip Muffins

Buckwheat Banana Almond Muffins
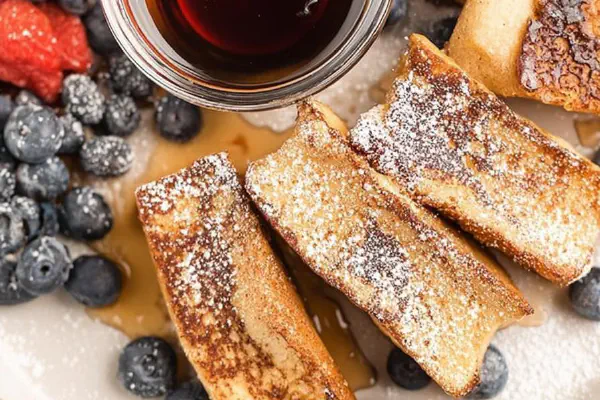
Vanilla Cream French Toast Sticks
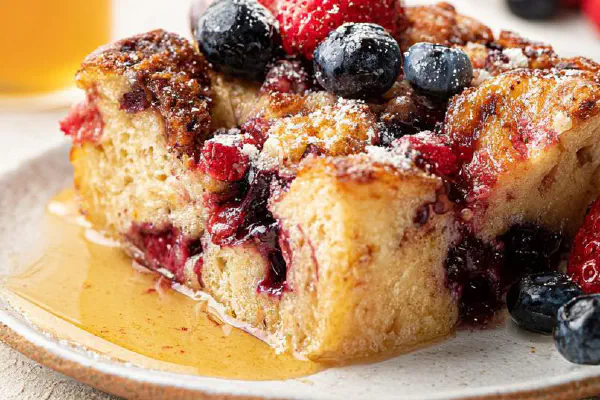
Berry French Toast Bake
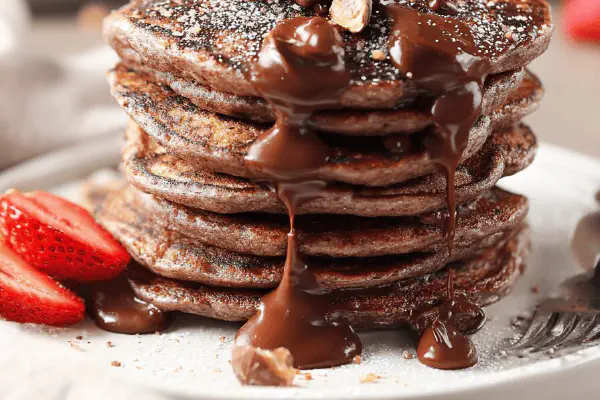
Chocolate Hazelnut Pancakes
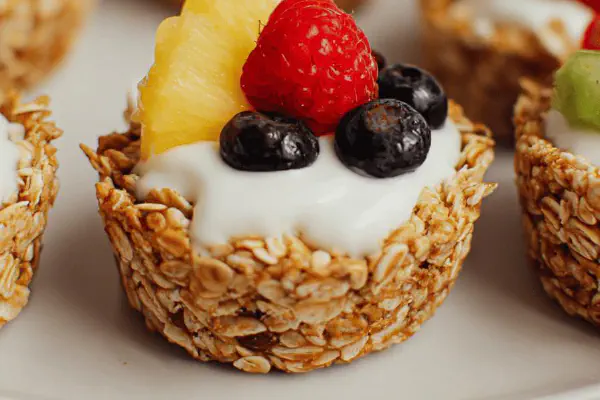
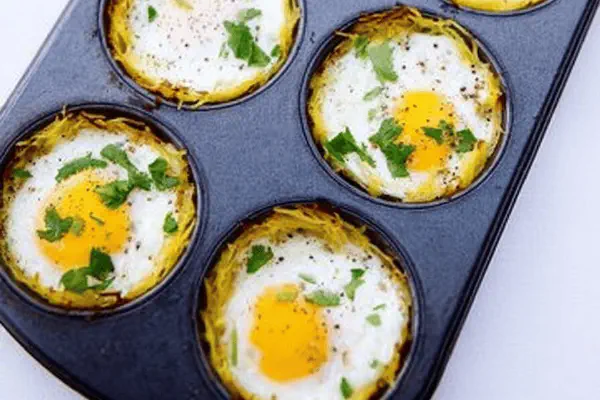
Oatmeal Nest Cups
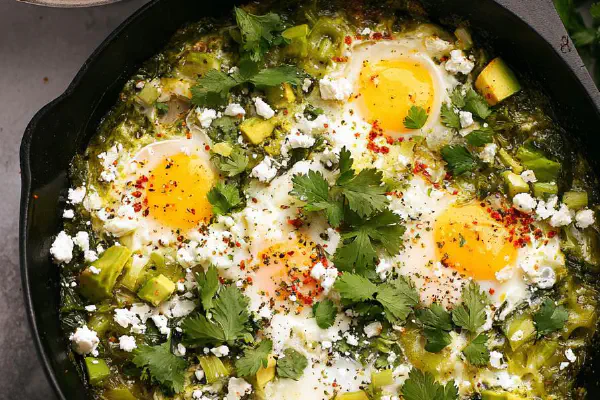
Green Shakshuka Twist

Blueberry Cinnamon Rolls

Sausage Cream Gravy
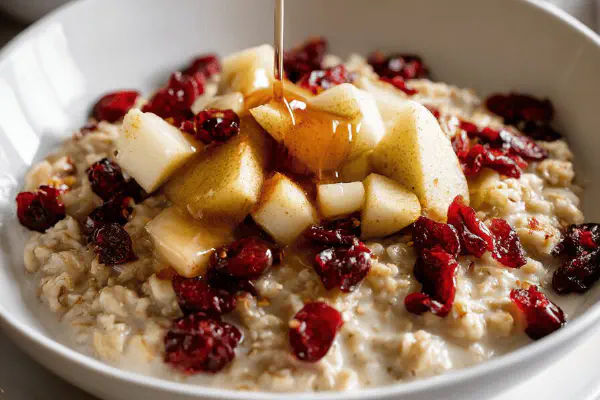
Cranberry Pear Oatmeal Twist
Sweet Potato Muffins

Upside-Down Caramel Buns

Oat Almond Waffles Twist
Spaghetti Squash Egg Nests
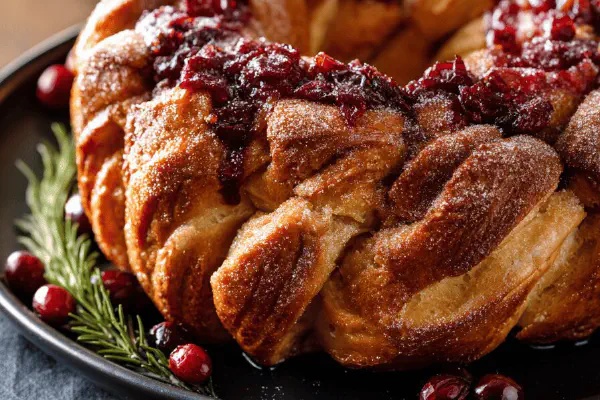
Cranberry Cinnamon Brioche Crown
About the ingredients
Bacon quality and cut thickness change the game. Thick cut takes longer, flavors more fatty; thin slices crisp fast but risk burning. Turkey bacon stands in if you prefer leaner, but watch cooking temp lower to prevent drying out. Aluminum foil on baking sheet traps drips — easy clean-up, don’t skip. Metal rack lifts bacon so fat cooks out, giving that sought-after snap instead of greasy sogginess. Seasonings optional, but freshly cracked black pepper and smoked paprika add depth; maple syrup for glaze gives sweet edges but monitor closely to stop burning. No rack? You’ll need to flip bacon halfway and blot well after cooking or risk greasy slices. Keep handy tools like tongs and paper towels nearby to transfer quickly and soak excess fat immediately. Using foil under rack can wrinkle for friction or weigh down bacon slices with foil strips to keep flat if they curl. Save rendered fat in refrigerator jars for cooking; great for flavor boosters.
Method
Prepping
- Set oven to 410F; slightly hotter than usual to speed crispness without burning.
- Foil-line a rimmed baking tray to catch drips. Wrinkling foil under rack keeps it from sliding.
- Place a metal wire rack on top; bacon stays elevated so fat drips away. No rack? Lay foil flat and drain on paper towels later.
- Slap on seasonings if you like — cracked black pepper is classic; maple syrup adds sweetness; smoked paprika adds earthy heat.
Cooking
- Arrange bacon slices in a single layer spaced apart — no crowding or overlapping or weird chewy spots.
- Pop tray in oven on middle rack. The hot air crisps edges while bottom cooks through evenly.
- Thin bacon needs a quick peek at 11-13 minutes. Thick slices you can check 16-18 minutes. Visual cues rule here: bubbling edges, color shifts from pale pink to golden deep amber.
- Listen for gentle sizzling; loud popping means fat rendering properly. Cut some slices if unsure. Too limp? Another 2-3 minutes.
Post-cook
- Slide bacon onto plate lined with paper towels to soak excess grease. Important for snap and less greasy bites.
- Serve right away or refrigerate in airtight container for later. Reheat in skillet or oven to regain crispness.
Tips and Fixes
- If bacon curls, weigh it down with a foil strip or smaller rack.
- Using turkey bacon? Drop temp to 375F, check earlier to prevent drying out.
- No rack? Lay bacon on foil, half-way through flip slices for even crisping.
- Cooking times vary with brands and meat thickness. Watch color and feel edges for doneness instead of relying on clock.
- Overly greasy bacon? Drain on towels longer or blot with paper after plating.
- Experiment with seasoning, but don’t overload — bacon fat steals the show.
- Save bacon fat for cooking eggs or veggies; cooled, strained fat stores well in fridge.
Cooking tips
Temperature trick matters — 410F cooks fast, crisps right edges before fat fully renders off. If worried, 400F is safer but slower crisp. Metal rack essential for lifting bacon or flipping halfway if none. Single layer and space between slices so heat hits all around — crowding causes wilting instead of crisping. Thin bacon: 11-13 minutes check, look for bubbling edges, color change from pink to amber. Thick bacon: 16-18 minutes. Don’t rely on exact minutes; sensory cues are king — sight, listen to crackle, feel edges with tongs for firmness. When done, move bacon to paper towels right away to soak excess grease or fat seeps back and you lose crunch. Serve ASAP or refrigerate with paper towels between layers to avoid sogginess. Reheat in oven or skillet to restore snap. Common mistake: letting bacon overlap or crowd and not draining, results in chewy or greasy bits. Watch for small flare-ups or smoke; reduce temp if that happens. Flavor before cooking simple — glaze maple or sprinkle pepper. After cooking can be greasy and messy. Always have a backup batch if first bites go too crisp or limp; adjust time next round.
Chef's notes
- 💡 Cook at 410F; hotter speeds crisp edges but watch for flare-ups. Foil under rack catches drips and helps cleanup. Wrinkle foil to grip rack so it doesn’t slide. No rack? Flip bacon halfway to avoid sogginess. Thickness matters—thin slices crisp quicker; thick need more time. Visual cues like bubbling edges, amber color, sizzling sound better than clocks. Drain bacon on paper towels immediately after cooking to keep snap. Save rendered fat for future cooking; strain first.
- 💡 Season before cooking but sparingly. Black pepper is classic, paprika lends earthiness, maple syrup adds sweet glaze but burns easily if left long. Salt is already in meat; overdoing dry spices chars them fast. Apply seasonings evenly; don’t pile. When bacon curls, weigh down with foil strip or smaller rack to keep flat—prevents uneven cooking and soggy spots. Keep tongs, paper towels handy for quick transfer and draining to retain texture.
- 💡 If using turkey bacon, lower temp to 375F to avoid drying out, watch it closely. Thin bacon can burn at standard heat; flip halfway for even crisping. Thick bacon slabs take 16-18 minutes; thinner 11-13 but check often. Listen to sizzling turning gentle then sharp, look for color change from pink to deep amber as doneness cues. Don’t trust times blindly; sensory feedback rules. If bacon looks limp or not crisp, add 2-3 minutes but watch careful to avoid burning.
- 💡 No rack setup? Lay foil flat on tray, arrange bacon spaced out, flip halfway through. Fat pools on foil make slices limp otherwise. After cooking blot slices well. Metal rack lifts bacon letting fat drip, making texture cleaner and crispier. Keep bacon slices single layered, spaced—crowding traps steam causing chewy spots. Cool cooked bacon flat on paper towels alone; stacking traps moisture, ruins snap. Always have backup batch ready if texture isn’t right first try; tweak time next round.
- 💡 Store bacon wrapped in paper towels inside airtight container to avoid sogginess. Reheat in skillet or oven—oven method regains crisp better but slower. Refrigerate leftover fat strained in jar for sautéing eggs or veggies. Save bacon grease cool, sealed in fridge keeps weeks. Avoid reheating in microwave if crispness matters. Watch signs of grease smoke or flare ups during cooking; reduce temp if smoking to protect flavor. Drain fat thoroughly after cooking to avoid greasy bite.
Common questions
How do I know when bacon is done cooking?
Look for edges bubbling and color shift from pale pink to golden amber. Listen for sizzling changes—soft then sharp indicates fat rendering. Touch edges with tongs for firmness. Visual and sensory cues are key; clock times vary based on thickness and oven.
Can I skip the rack and still get crisp bacon?
Yes but flip slices halfway. Lay on foil flat; fat pools make limp spots otherwise. Blot well after cooking. Crowding causes chewy bacon. Wrinkled foil under rack or foil strips can weigh down curling bacon if no rack. Drain fat well; texture suffers if greasy.
Why does bacon sometimes come out limp or greasy?
Usually from fat pooling, crowded pan, or not draining cooked bacon fast enough. Using rack lifts slices letting fat drip away. No rack requires flipping and blotting. Cool bacon flat on paper towels—stacking traps moisture and ruins crunch. Adjust cooking time and temp based on thickness.
How should I store leftover bacon and fat?
Bacon wrapped in paper towels in airtight container in fridge keeps snap. Reheat in oven or skillet to regain crisp. Rendered fat strained, stored in sealed jar in fridge lasts weeks. Avoid microwave reheating for crunch. Bacon fat great for sautéing other dishes. Keep tools ready for quick draining next cooking.
You’ll Love These Too
Explore all →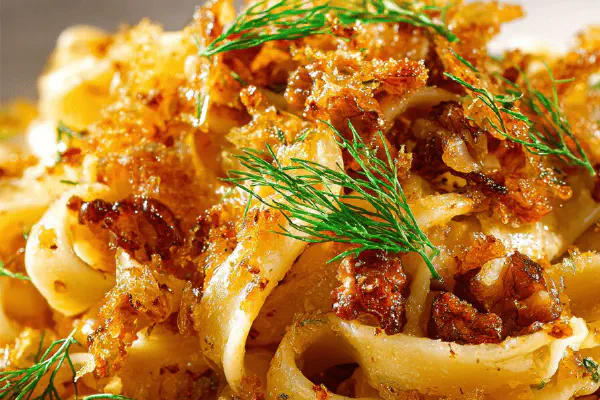
Tagliatelles with Fennel and Crunch

Spicy Crispy Chicken
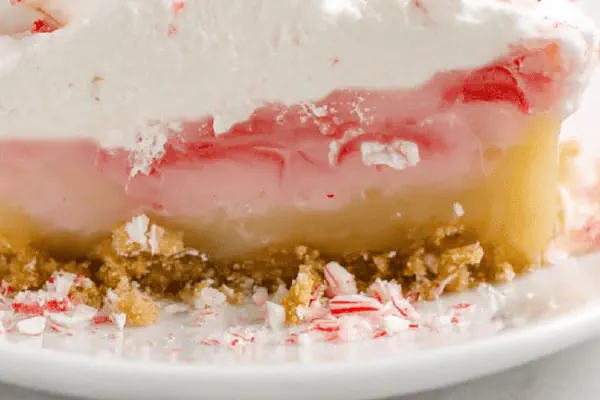
Candy Cane Lush Remix
Maple Butter Cake
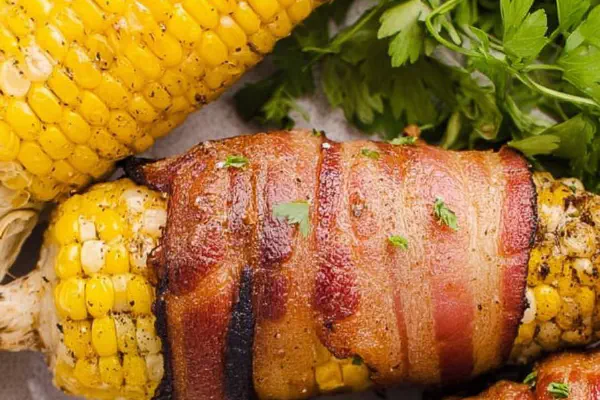
Bacon Wrapped Jalapeño Corn

Caprese Skewers Remix
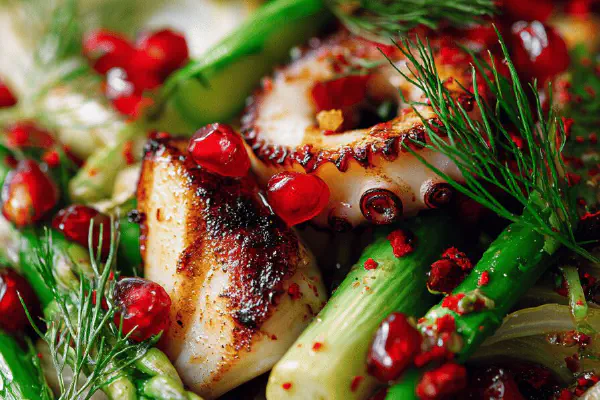
Grilled Octopus Fennel Salad
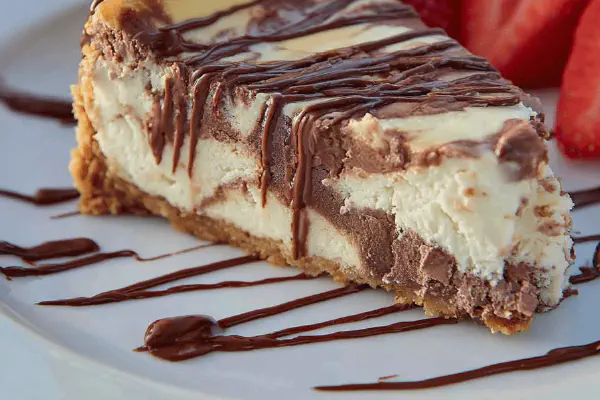
Marble Cheesecake Twist
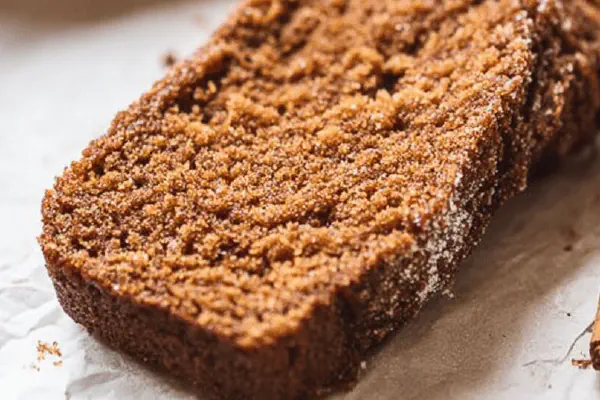
Molasses Gingerbread Loaf

Broccoli Carrot Puree
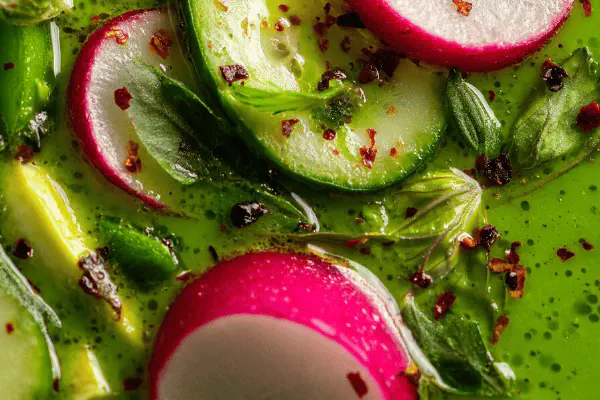
Chilled Green Soup

Chunky Cast Iron Cookie
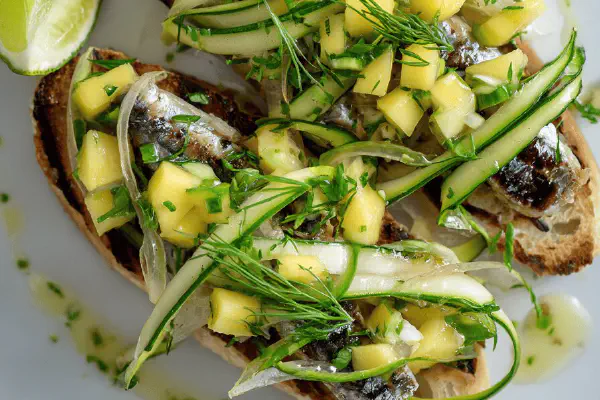
Grilled Sardine Toasts Twist

Sweet Potato Bacon Quiche
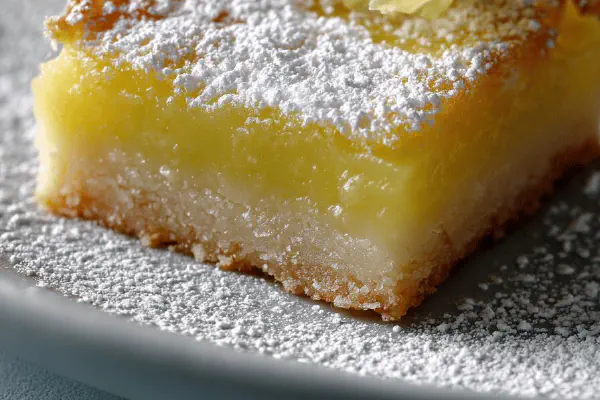
Tart Lemon Bars
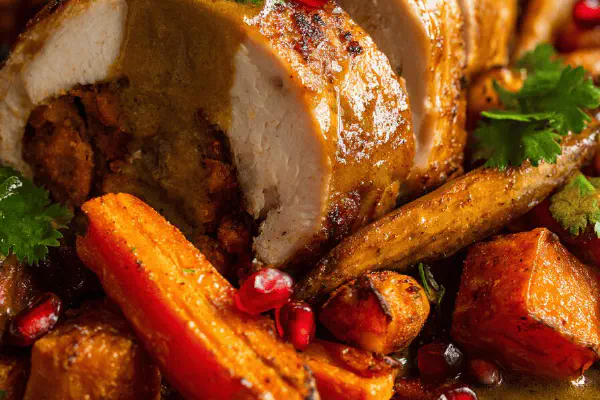
Spiced Turkey Roast with Carrots

Date Tart Remix
Cranberry Pear Oatmeal Twist
Pineapple Basil Popsicles
Veggie Poutine Twist