
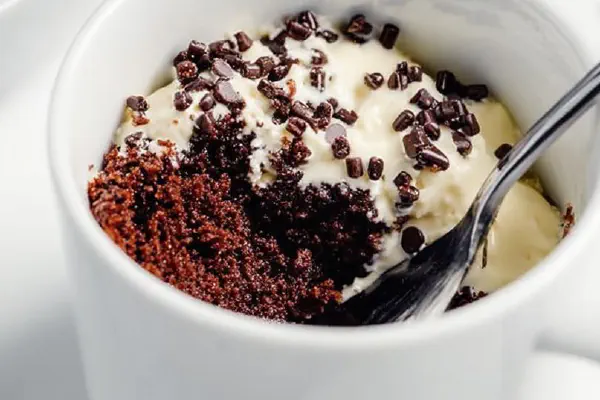
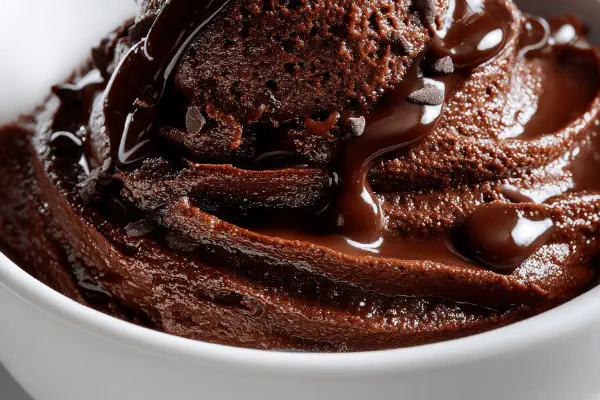
Microwave Chocolate Mug Cake
E
By Emma
Certified Culinary Professional
•
Recipe tested & approved
Single serving chocolate mug cake using cake mix with a quick microwave method. Combines dry cake mix, milk, oil, and melty chips. Cook time varies by mug thickness. Resting lets flavors settle and texture firm up. Top with whipped cream and sprinkles for texture contrast. Easy, fast, indulgent. Careful with timing or mug size causing dryness or gooey center.
Prep:
7 min
Cook:
2 min
Total:
9 min
Servings:
1 serving
#quick dessert
#microwave recipes
#single serving
#chocolate
#mug cake
Before You Start
Ever tried a cake in a mug? Instant gratification but tricky. You want fluffy, moist crumb, not rubbery edges or gummy center. I’ve overcooked mugs, undercooked mugs; learned it’s about feel, sound, not just time. Use a heavy mug for even heating. Chocolate chips add that molten surprise; skip them, you lose texture contrast. Whipped topping? A must. Melts into warm cake, balances sugar-dense batter. Milk and oil proportions changed from usual to avoid heaviness but keep moistness intact. Microwave power varies; trust cracks on surface and softness to the touch, not timer alone. Stirring enough to hydrate all dry bits is crucial—no one wants flour lumps. Resting is magic—cools the hot edges while center finishes setting. It’s simple, quick, and a lifesaver when craving something sweet.
Ingredients
- 2/3 cup chocolate cake mix
- 4 tablespoons milk, whole or 2%
- 2 1/2 tablespoons vegetable oil
- 2 tablespoons semi-sweet chocolate chips
- Nonstick cooking spray
- Whipped topping for garnish
- Optional chocolate sprinkles
In The Same Category · Desserts
Explore all →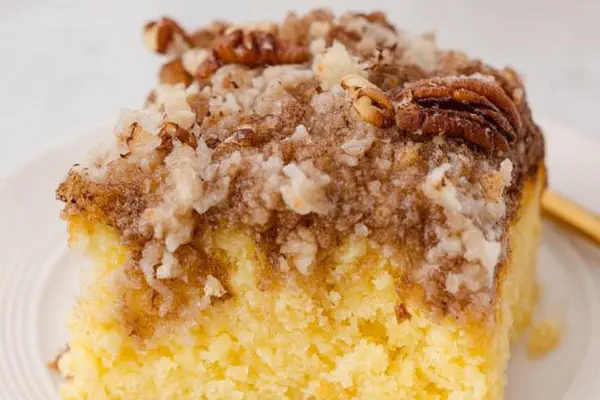
Pineapple Tornado Cake
Sprite Apple Dumplings
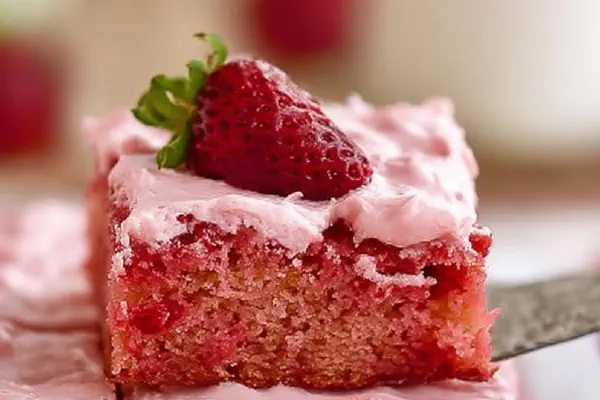
Strawberry Sheet Cake Remix
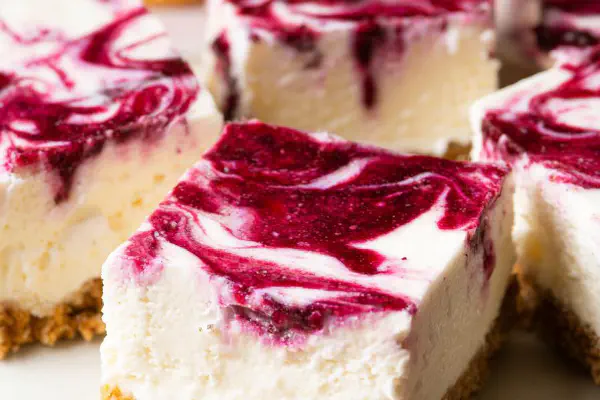
No-Bake Berry Cheesecake Bars
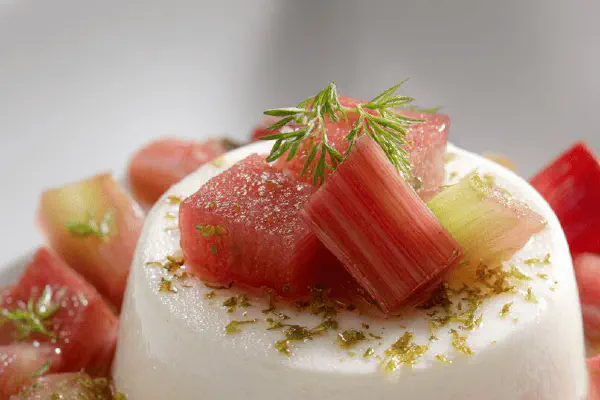
Vanilla Panna Cotta Rhubarb Compote
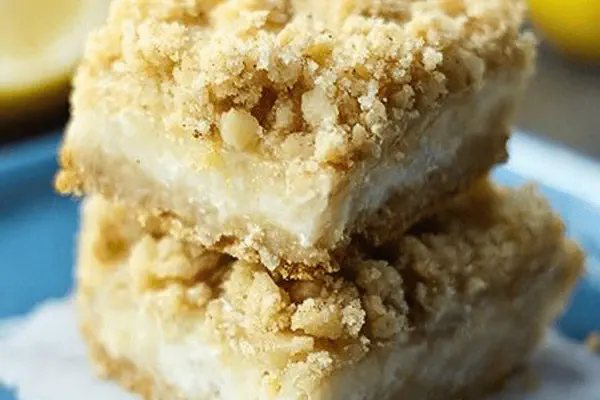
Zesty Crumble Bars
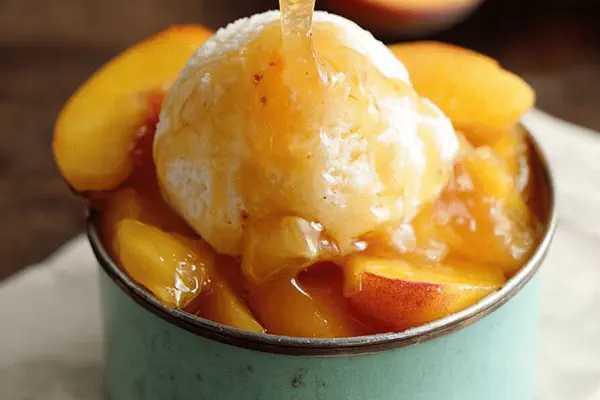
Sugary Peach Butter Sauce
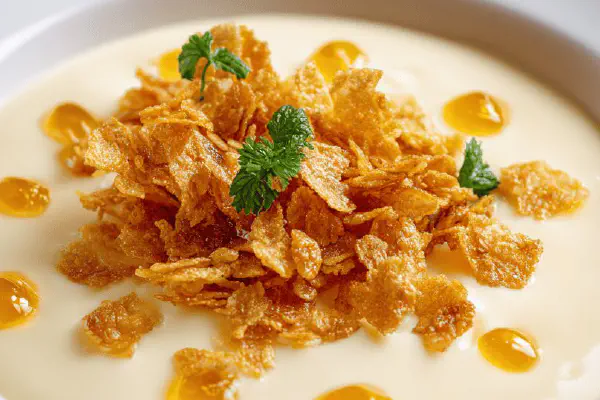
Corn Cream & Caramel Cornflakes
Walnut Almond Honey Baklava
Almond Paste Pear Cake
Caramel Pecan Upside Down Cake
Maple Lattice Tart Twist
Twisted Banana Pudding Cake
Eggnog Chai Cheesecake
Billets with Haskap and Coconut
Almond Joy Bars Remix

Baked Strawberry Cheesecake Twist

Rustic Apple Tart
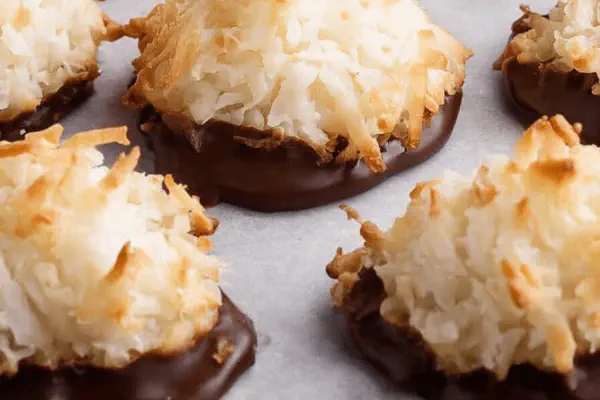
Crunchy Coconut Macaroons
Ultra Rich Chocolate Ganache
About the ingredients
Substitute milk with almond or oat for dairy-free. Use melted coconut oil or canola oil instead of vegetable oil; it changes mouthfeel and flavor slightly but works fine. Cake mix can be any boxed chocolate version; dark chocolate mix gives a richer taste, sweeter mixes may need less sugar topping. Chocolate chips optional but add that molten surprise—I use semi-sweet, sometimes dark. If out of cooking spray, brush inside with a thin oil coat or wipe with butter to ensure easy release. Whipped topping swapped easily with vanilla ice cream or yogurt for cool tang and creaminess. Sprinkles add crunch and festive looks but are optional or can be replaced with crushed nuts. A pinch of salt stirred into batter balances sweetness if your mix is very sugary.
Method
- Spray a sturdy 14-ounce coffee mug with nonstick spray. I prefer hefty mugs; thin ones can overcook edges fast.
- Dump in cake mix, milk, and oil directly into mug. Stir well with a fork or small whisk, scraping edges and bottom. Don’t miss dry pockets.
- Add the chocolate chips. Fold them in carefully for bursts of gooey chocolate rather than melting them fully.
- Microwave on high about 1 minute 15 seconds to 1 minute 35 seconds. Listen for a faint spitting, cracks forming on top. Stop when cake is mostly set but slightly moist-looking in center.
- Let cake rest inside the microwave or on counter for 3 minutes. Residual heat finishes cooking, texture firms up to tender crumb.
- Top with a generous dollop of whipped cream and scatter chocolate sprinkles if you want crunchy contrast.
Cooking tips
Spraying mug prevents sticking—don’t skip this or clean-up is a nightmare. Stirring well is the key step; scrape edges so no dry mix hides down mug sides. Chocolate chips don’t mix too hard to avoid melting completely—those gooey pockets are the best bites. Microwave times vary; start with 1 minute 15 seconds, check texture with a toothpick or gentle poke—moist crumbs that stick lightly to finger are spot on. The surface should look firm but not dry or cracked deeply. Resting time lets the heat finish cooking evenly; skip rest and cake may seem wet or gummy in center. Top when just warm—whipped cream melts around edges making a saucy effect. I’ve used forks to stir because whisk sometimes scratches mugs. Thin mugs cook too fast, toughening edges before center sets—stick with thick-walled mugs. If cake sinks or is very wet underneath, reheat in 10-second bursts, checking constantly, so you don’t dry it out.
Chef's notes
- 💡 Use a thick-walled mug always. Thin mugs cook too fast, edges dry out, center stays gooey. Weight and thickness affect heat distribution. Sturdy mugs slow cooking, help texture settle better.
- 💡 Spray mug with nonstick first or thin coat of oil. No spray? Brush or butter works but uneven layers cause sticking. Cleaning crusted mug sums up to regret later.
- 💡 When stirring, hit all dry spots. Don’t let cake mix hide under edges or bottom. Mix until smooth but pause before fully melting chips. Fold chocolate chips carefully; full melt kills gooey pockets.
- 💡 Microwave time varies by power. Listen for faint cracking pop sounds like tiny sparks on surface. Stop when surface looks set but center still soft. Overcooking dries edges, undercooking leaves gummy middle.
- 💡 Rest cake 3 minutes after microwaving inside or out. Heat continues cooking inside crumbs, evens texture. Skipping rest leaves soggy or unset middle. Whipped cream melts into warm cake; sprinkles add crunch contrast.
Common questions
How to tell if cake is done?
Look at surface cracks, listen for faint spitting sounds. Soft center that springs back lightly is right. Toothpick test works but careful not to dry edges.
Can I use dairy-free milk?
Yes. Almond, oat milk both fine. Oil swap works too; try melted coconut or canola oil. Flavors shift slightly; texture mostly same. Avoid heavy creams unless adjusting oil.
Cake too dry or edges burnt?
Use shorter bursts, reduce microwave time. Switch to thicker mug. Stir thoroughly before cooking. Sometimes rotate mug midway but avoid opening too often.
How to store leftovers?
Cover leftover cake airtight, fridge up to 2 days but texture changes. Microwave 10–15 seconds to warm. Freezing not ideal; loses softness. Best fresh but short storage possible.
You’ll Love These Too
Explore all →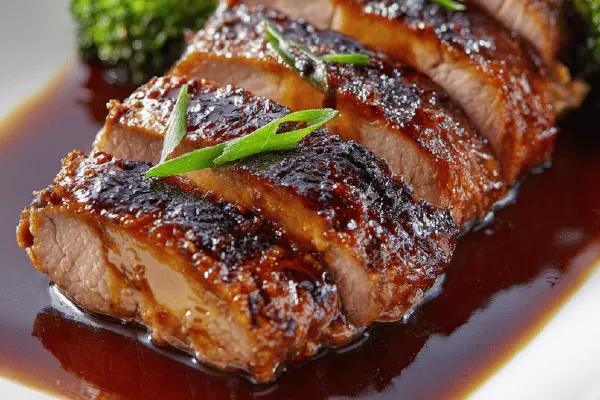
Tamarind Pork Tenderloin Twist
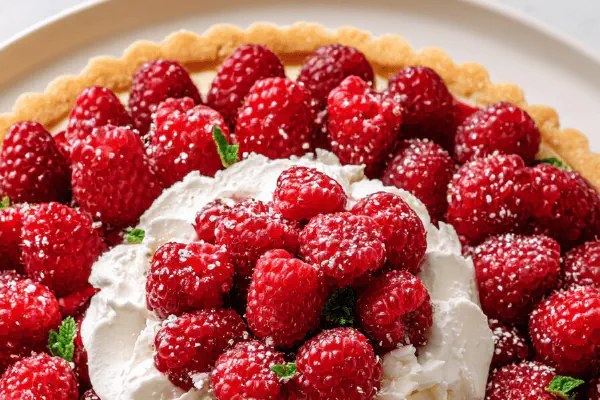
Black Forest Tart Remix

Valentine Sugar Cookies
Gluten-Free Strawberry Rhubarb Crisp

Asparagus Mimosa Remix
Twisted Garlic Mash
Spinach Lentil Asparagus Salad
Grilled Chicken Tomato Mozzarella
Cauliflower Couscous Twist
Oven Baked Hard Eggs
Oven-Baked Sheet Eggs
Rustic Pici Pasta
Checkerboard Cake
Vanilla Cream French Toast Sticks
Roasted Pumpkin with Coriander Twist

Savory Corn Herb Oil
Chunky Peppermint Bark
Garlicky Whip Sauce
Strawberry Shortcake Cookies
Twisted Chermoula Sauce
